Monday, January 19, 2015

Italian Beef (and nachos)

Why should you make Italian Beef at home?  Well, because it's delicious, of course, but also because #ItalianBeefNachos and #ItalianBeefGrilledCheese.  My kids and I are hooked.

Italian Beef, Crock Pot Style

3 1/2 lb chuck roast
kosher salt
freshly cracked black pepper
1 tsp. granulated garlic
1 tsp. dried oregano
1 tsp. dried basil
1 tsp. dried parsley
2 tsp. crushed red pepper
2 tsp. fermented garlic paste (or 3-4 cloves, minced)
1/2 c. dry, fruity red wine
1/4 c. soy sauce
1/4 c. Worcestershire sauce


Place the roast at the bottom of the crock pot.  Season with salt and pepper, then the garlic, regano, basil, parsley, and crushed red pepper.  (I just dumped it all on the rbeoast, given that I was making this at 1a.)  Add the fermented garlic paste and top festively with the wine, soy sauce, and Worcestershire.
Cover the crock with the lid.  Turn it on low.  GO TO BED.

8-10 hours later, the meat will fall apart.  I like to remove it from the crock separate out and toss the gristle, etc., and then shred it in the sauce (in the crock).  Leave it on warm if you must, but do watch that it doesn't start to caramelize too much or run dry.

Traditionally, this would go on a soft roll with giardinera and provolone (which is delicious).  Alternatively, shred some into a provolone grilled cheese for the kiddos (mine asked for it specifically three days in a row) or use as nacho toppings along with salsa verde, avocado, cheddar, jalapenos, and sour cream.  YUM.

p.s., yes these nachos are as good as smoked turkey nachos.

Roasted Squash and Swiss Chard Soup: Teaching Kids to Crave Veg, One Bowl at a Time

I cook for my kids all the time.  My son is four, and while he went through a picky phase, he now proclaims me to be "the best cooker" and prefers to eat at home over a restaurant...at least for now.  My daughter is two, and she's my little foodie.   This kid loves everything from hummus to bibimbop to lamb shoulder.  If it looks good, she wants it.

All this being said, I had hesitated to feed them soup for dinner.  There were many reasons for this, not the least of which was the imagined MESS, along with the potential they would balk at "baby food" or otherwise unrecognizable pureed tasty stuff.  That turned me off from pushing soup for a while, but, I do love soup, especially in winter.  So, I decided to remember that I'm grown, I can clean, and I gave it a whirl.  As usual, they surprised me, and I couldn't be more pleased with the results.

It's easy to teach kids to love soup when you pay attention to texture and consistency.  Plus, if you make it thick enough they will only minimally succeed in painting the kitchen.  People are amazed that my kids love squash, chard, mushrooms, and in general, most anything I make tasty for them.  It's all about seasoning and repetition.  Give kids real food that tastes delicious, and they are bound to like it.  They will learn to expect it.

This go round is vegetarian and can easily be made vegan.  Admittedly, my son asked where the bacon was.  What can I say?  I cure and smoke bacon, and he loves it.  Not the worst critique I can imagine.

Roasted Squash and Swiss Chard Soup

1 medium (~ 2.5 lbs) orange winter squash.  I do not know what the name is of the one my daughter picked out at the farmer's market, but it was similar to butternut.  You are looking for about 2 c. of puree after roasting.

kosher salt

olive oil

Heat an oven to 375 degrees.  Meanwhile, but the squash in half and clean out the pulp and seeds.  Sprinkle with salt and brush with oil.  Roast uncovered on a tray until the squash is soft throughout and starts to brown.  Remove and cool.  Scoop out the flesh and set aside.

1 large onion, diced

1 very large bunch of Swiss Chard (I probably had 10 substantial stems with large leaves).  Remove the stems, cut off the bottom bit, and then chop.  Set the leaves aside for later.

4 stalks celery

3 large garlic cloves, minced

olive oil

kosher salt

freshly cracked black pepper

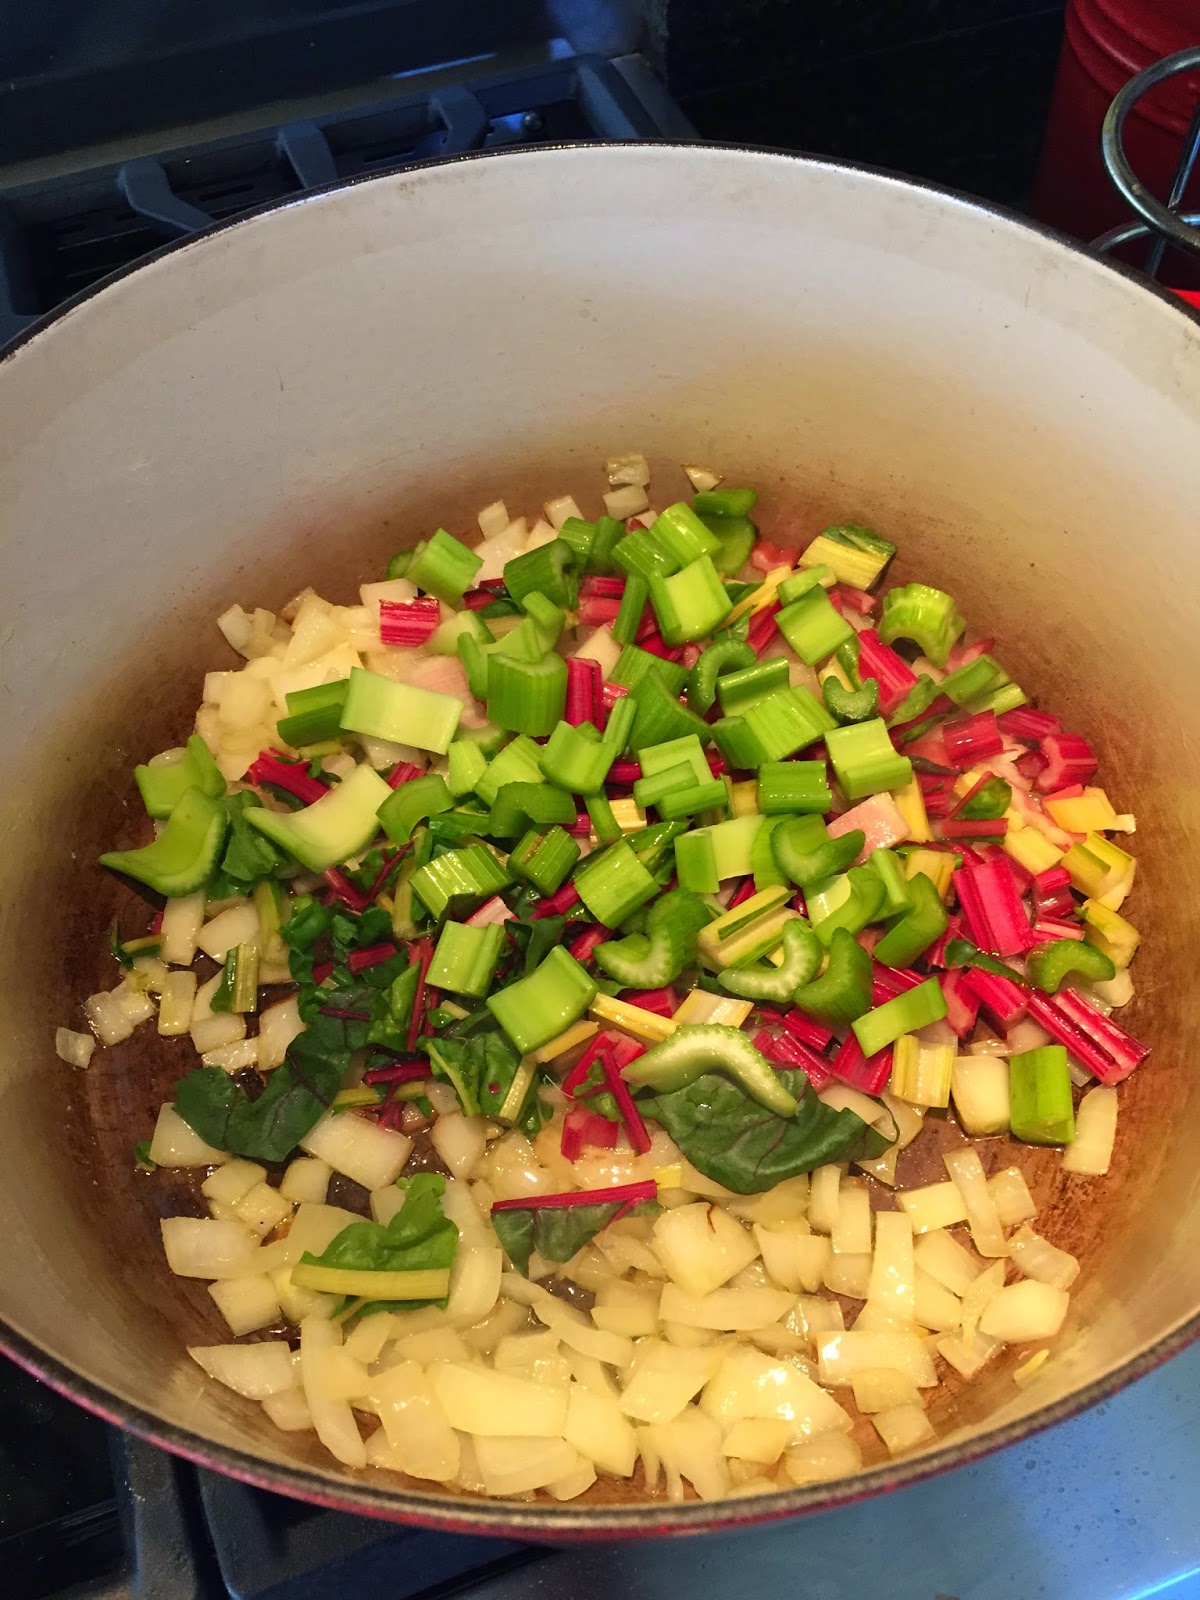
Toss the onion, chard stems, celery, and garlic into a large soup pot heated over medium-high with a good glug of oil, then season with salt and pepper.  Cook partially covered until the veg just starts to caramelize.

1/2  c. dry white wine

6 c. water

1 lemon, zested and juiced

Deglaze the pot with the wine and increase the heat.  When the liquid is essentially gone, stir in the puree and chard leaves.  Cook, stirring, until combined and wilted.  Add the water, stir again, and reduce heat to medium.  Partially cover and let alone for 20-30 minutes.

Remove pot from the heat and puree with whatever tool you prefer.  I used an immersion blender.  Taste the soup, adjusting salt as needed.  Stir in the zest and juice.

Creme Fraiche for serving

Ladle soup into bowls and add a large spoon of creme fraiche.  Tell the kids to swirl it (because it's fun, of course).

Now, eat, enjoy, and repeat.

NOTE:  My kids aren't bothered by the slight bitterness of the chard.  If yours are, substitute baby spinach and add extra celery.


Saturday, December 13, 2014

DIY Holiday - Techniques, Recipes, and Strategies

Every year I tell myself I'm not going to make all my holiday gifts.  "This year, I'm going to make it easy on myself."  And then I have a good laugh and set about making my plan for holiday gifting.  I find that so long as I have a good stable of techniques, pragmatic strategies, and delicious recipes, I survive just fine and end up being so grateful I took it on again.

Packaging 
  • Packaging beautiful food is easy when you have clear glass jars.  I like to cut rounds of my favorite wrapping paper to the size of the lids and simply place it between the lid and ring.  You don't need glue, tape, or anything else.  The ring secures it just fine.  Then, if I'm feeling fancy, I might wrap hemp or other twine around the jar and add a sturdy cardboard gift tag.  Be sure to let your giftees know they will need to keep the olives in the refrigerator.
  • I also like to buy the Avery chalkboard labels.  I buy the big oval ones and cut 1 1/2" circles out (2 per) with a hole punch.  The size is perfect for the front of a jelly jar.  Then, I write the contents on the label with a neon chalk marker.  
  • If you're in search of the clear cellophane bags you see at the stores this time of year, check Amazon.  I like the 9"x12" and 4"x6" bags.  Dry goods, such as biscotti, nuts, and cookies look great in bags.  All I add is hemp twine and maybe a sprig of greenery, if I feel like going out to cut it.  If you have holly, a couple of leaves and a berry cluster is about as good as it gets for winter.
  • In general, less is more when packaging food.  Let the food shine.
Gameplan
  • I find it's important to make a plan in advance.  If your life is anything like mine, free time is rare and precious, and if you want to gift things that need prepared a few days or less before giving, you need to time it out.  This is not to say you need to spend a lot of time or energy making a schedule, but be realistic.  If you don't have time in the couple of days before the gifting target, pick things that can be made a week or more in advance.
  • Picking recipes that can be made in large batches is handy when preparing multiples.  Not every recipe can be successfully doubled or tripled.
  • Don't be above child labor, especially for teacher gifts...my kids LOVE to help, and they are so proud to give their teachers things they helped make.  That being said, be realistic.  If the kiddos are helping, let go of the perfectionist tendencies.  Their smiles are worth it, and it encourages their generosity, while applauding their work ethic.
Recipes
  • This year has been the year of TOO MANY IDEAS.  I've been experimenting and taste-testing, and thus far, I've still got too many ideas swirling about.  It's a good problem to have, and it keeps the ones I love well fed and happy.  That being said, I have already started, and as such I have picked out a few stellar selections for our primary gifting.  I make sets of 6 or 12, usually, and plan with the idea of combining two items for a complementary gift package.  (See cellophane bags above.)
  • Here are a few of the greatest hits:


    • Fig, Chile, and Orange Marinated Olives
    • Chocolate Dipped Figs with Sea Salt
    • A rift on the Food and Wine Maple Pecans:  Substitute chipotle chile powder OR dried thyme for the cayenne pepper.  Better yet, make a batch of each, but be sure to package separately.
    • Spicy Pickled Carrots.  These are a favorite all around, and they are shelf-stable if you can them properly.
    • Ginger-Pickled Grapes.  These are simple...place a coin of peeled fresh ginger, an inch stem of fresh rosemary, and a few black peppercorns at the bottom of an 8 ounce jelly jar.  Top with halved purple grapes.  Measure in two tablespoons of granulated sugar, shaking the jar to distribute if necessary.  Heat to boiling 1 c. white wine vinegar, 1 c. water, and 1 tablespoon of pickling salt.  Ladle into jar until full, wiping the rim, and capping tightly.  Store in the refrigerator.
    • A rift on the Food and Wine Fig and Hazelnut biscotti:  I substituted whole, blanched almonds.  I love how whole almonds slice in biscotti, but be sure to use blanched almonds.  The skins don't work in biscotti.

DIY Holiday - Fig, Chile, and Orange Marinated Olives

There is something about gifting delicious food in beautiful packaging that just makes it feel like Christmas.  It's easy to walk into any store and buy presents, but making hand-crafted, handmade treats is so much less work than one might think.  It's not hard...or time-consuming...or expensive.  All you need is a strategy, a game-plan, and a few recipes.

I am a particular fan of marinated olives.  On the one hand, they make pretty gifts in jars.  On the other hand, and much more importantly, they are delicious.  This recipe was inspired by a taste memory inspired by the fantastic Holland House Bar and Refuge in Nashville, Tennessee.  If you are in town, I definitely recommend making a reservation.  In the meantime, get to marinating olives.  They are positively addictive

1 tsp fermented chile paste (if you have it, otherwise, bottled Asian chile paste)
The zest of two oranges
2 c. pulp-free orange juice
12 dried calimyrna figs, chopped
2 T. sugar
2 T. Sriracha
1/2 tsp salt
16 oz good olive oil
5 c. whole Castelvetrano olives
1/2 c. whole, blanched almonds


Combine the first seven ingredients in a large capacity pot.
Bring to a boil and reduce for about 10 minutes or until it starts to look syrupy.

Once the sauce has reduced to your desired consistency, stir in oil and olives.

Return to a boil, then reduce to a simmer.  Cook uncovered for about 5 minutes.

Remove from heat and stir in almonds.

Olives can be served immediately, but will benefit from a few days storage in the marinade.  Be sure to keep in the refrigerator.

Sourcing

I like to buy large cans of olives on Amazon.  While in my alternate, perfect world I might buy these directly from the growers in glass jars, I live in Indiana, and this is the best source I have found.  I particularly like these unpitted green olives, because they are delicious on their own and have no additional seasoning in the brine.  ALERT:  these olives are only $25 for approximately 8 dry cups.  This is beyond affordable.

I also buy the almonds on Amazon.  I burned too much gas and far too much time driving around Indy, trying to find them.  You can buy a full pound (which is many times over what you need) for $15. 

As for the figs, I bought them at Costco.  In our house, we LOVE figs.  I have no trouble using up the wholesale-size bag.  Two pounds run around $10-15.

Packaging

Packaging beautiful food is easy when you have clear glass jars.  The bright green of the olives plays against the earthy oil brine and needs little embellishment.  I like to cut rounds of my favorite wrapping paper to the size of the lids and simply place it between the lid and ring.  You don't need glue, tape, or anything else.  The ring secures it just fine.  Then, if I'm feeling fancy, I might wrap hemp or other twine around the jar and add a sturdy cardboard gift tag.  Be sure to let your giftees know they will need to keep the olives in the refrigerator.

Tuesday, November 11, 2014

Winter greens with Green Apple Vinaigrette

I love Thanksgiving.  It's all about food, family, friends and taking stock of what you have.  My kids and I are so fortunate.  We have our health, each other, more than enough delicious food at every meal, and our cozy home in which to enjoy it all.  I like traditional Thanksgiving, but as defined by me.  I like to take tradition and flip it. 


Here's a great side dish that I am making again this year.  It's easy to throw together and it's a great complement to the rich turkey dinner.


10 c. baby kale
2 c. shaved Brussels sprouts
1 c. pomegranate seeds
4 clementines, peeled and segmented
1 c. dry toasted walnuts, chopped
Apple Vinaigrette to taste (~1/2 c)
 
Mix together all ingredients and dress to taste
 
 
Apple Vinaigrette
1 medium granny smith apple cored and diced
1/2 c. raw, unfiltered apple cider vinegar (I like Trader Joe's brand)
1-2 T. fresh lime juice
2 tsp. agave nectar
1 small shallot, minced
3-5 T. olive oil, to taste
kosher salt and pepper to taste
 
Combine apple through shallot in a blender and puree until smooth.  Drizzle in oil while continuing to run the blender.  Season to taste.

Tuesday, September 9, 2014

Addictive Brined and Smoked Fresh Ham


I have never been a fan of ham.  Spiral-sliced, country-style, Black Forest,...doesn't much matter.  My take away is almost always <meh>.

Enter Royer Farm Fresh and the fresh hams I have bought from them over the years.  Being the type that always (always) prefers to do it myself, I thought perhaps I could improve my ham experience by brining and smoking a fresh ham to my taste.  I tinkered with my recipe over the last few years, and now I quite literally crave (my) ham.  It's great on a hors d'oeuvre tray, in a cuban, straight out of the refrigerator,...you get the idea.  It's YUM.

Turning a fresh cut of meat into something cured and smoked takes equipment and time.  It's not hard, but it doesn't happen in an hour.

What do you need on hand?  

A large enough pot to hold the brine and ham, with the ham fully submerged.  It's helpful if this is a giant stockpot with a lid, wider than it is tall, but I suppose most anything would work.

A charcoal or gas grill, good lump charcoal (or gas), and hickory wood chunks (not chips).

A large (4-7 lbs) bone in fresh ham.  This is just the ham CUT of pork.  A fresh ham has not been brined, cured, smoked, etc.

Brine


Make the Brine

Combine in the large stockpot:

1 1/2 cups each kosher salt and the best sugar you have (I like my organic raw sugar, it's finely ground, but it's not chemically stripped)

8 cups water

1 large orange, sliced into rounds

1 large lemon, sliced into rounds

2 large limes, sliced into rounds

1 whole head of garlic, sliced on the bias

1 large onion, sliced however makes you happy

2 T. fresh oregano

1 tsp. whole black pepper

Bring all this to a boil, cover, remove from the heat, and let cool completely to room temperature.


Brining the Ham

Once the brine is at room temperature, remove the ham from it's wrapper and submerge fully into the brine.  Be sure it stays completely covered by the mixture.  Cover the pan and place into the refrigerator for 3 days.

>>This picture is what the ham looks like upon removal from the brine on day 3.

Smoking the Ham

After 3 days, pour off the brine liquid, remove the ham, and discard the solids.  Bring to room temperature.  Meanwhile, soak 4-5 cups of hickory chunks in water.  Be sure to soak the wood for at least a couple of hours.

Prepare the grill to a high indirect heat (e.g. over to one side), remove the wood chunks from the water, and place them directly on the charcoal (or whatever your gas grill instructions say).  Close the grill lid immediately and let the smoke develop, about 5 minutes, until it's billowing out and smells delicious.

Place the ham as far away from the direct heat source as is possible.  Close the lid and leave it alone for an hour.  Flip the ham over (both right to left and top to bottom) and let smoke another hour.

Remove the ham from the grill and place it into an oven-proof large pot with a lid.

Finishing the Ham

Ham is extremely lean, so after a couple of hours on the smoke, I like to finish it on a very low temperature in the oven.

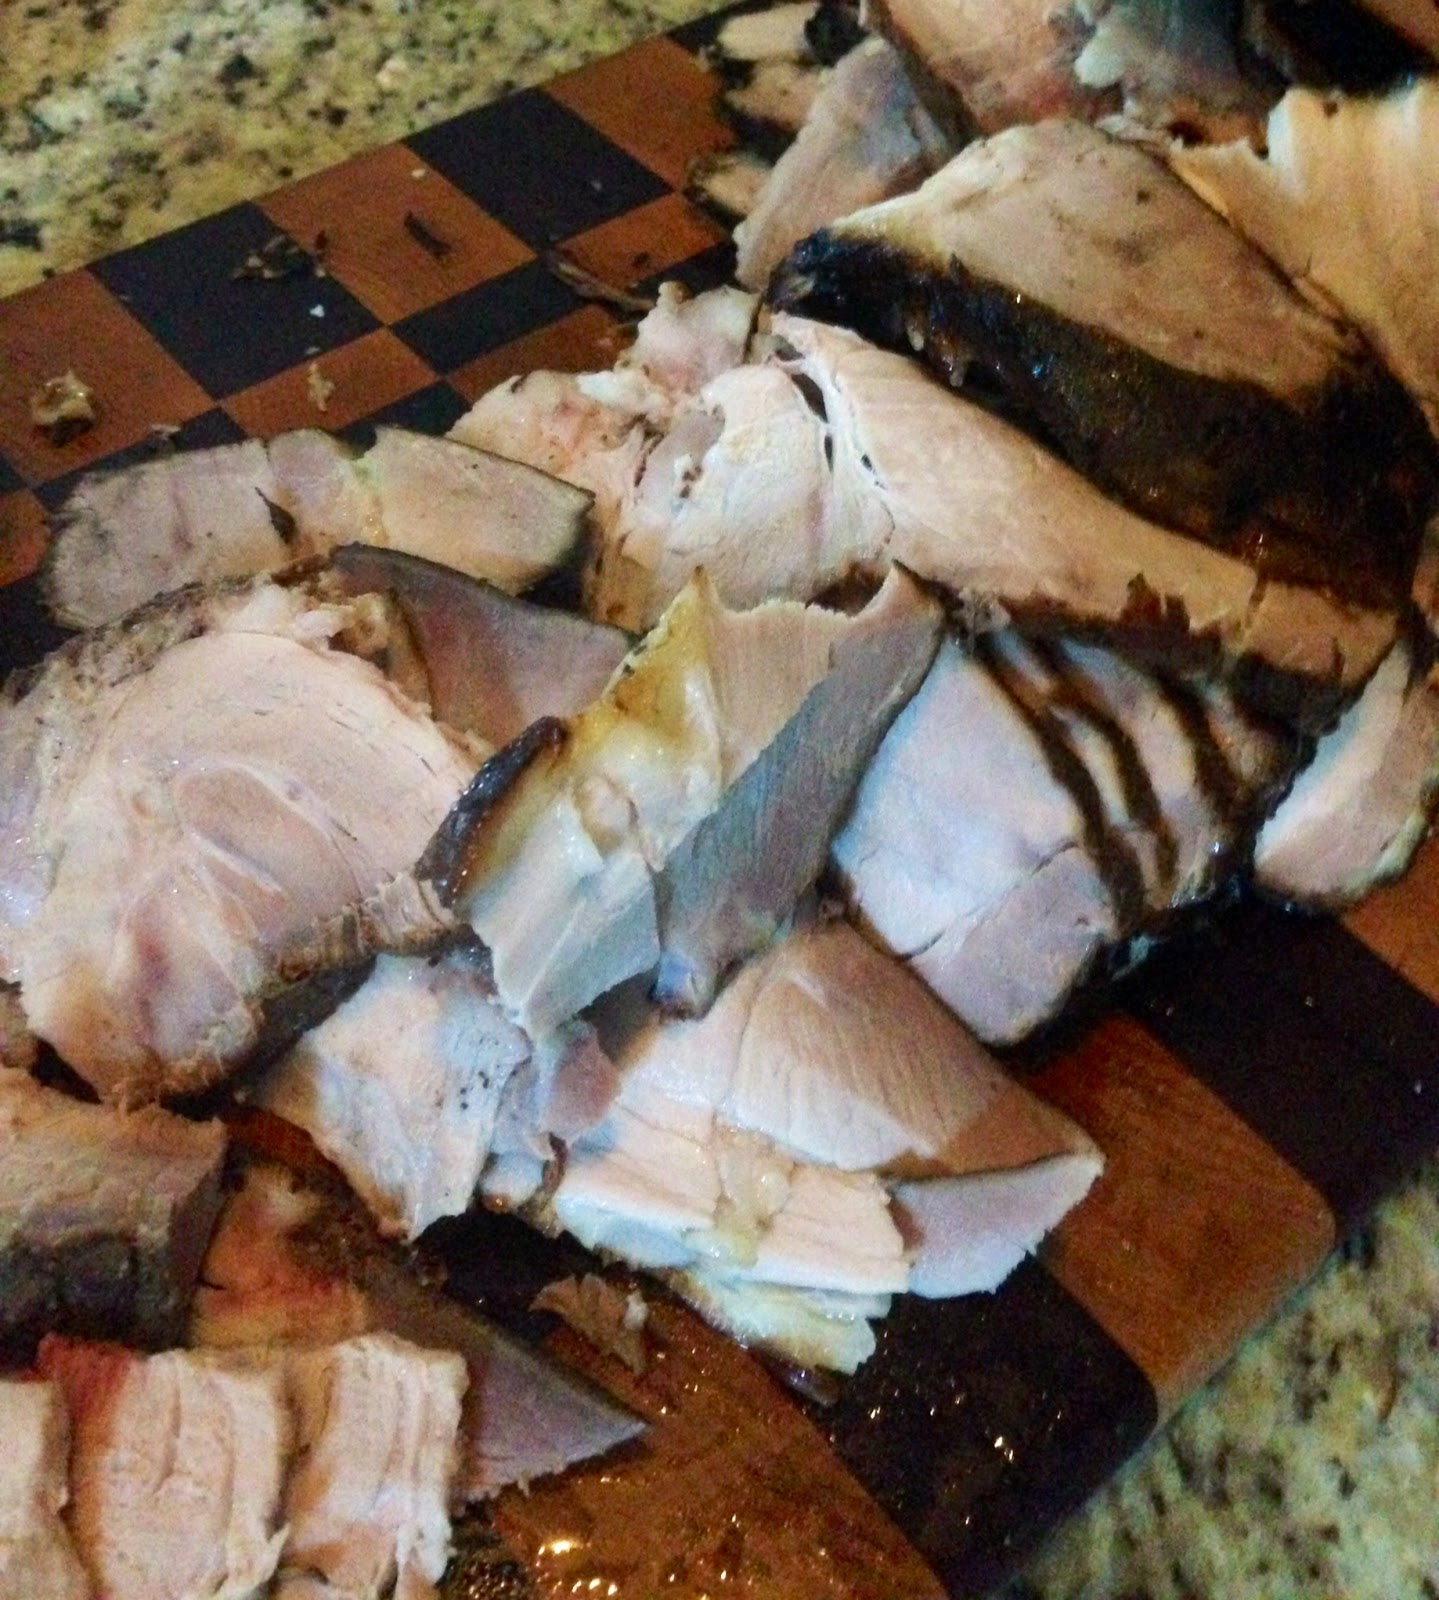
Bake the covered ham at 200 degrees until it reaches an internal temperature of 155 degrees.  Remove the pot from the oven and remove the lid.  Allow ham to rest at least 30 minutes (or longer) and slice.

Now, try not to eat it all while standing over the cutting board.

Wednesday, September 3, 2014

Chipotle-Cherry Barbeque Sauce


I have a love-hate relationship with BBQ.  I know, it's un-American, but that's how it is.  While I love to smoke fresh and/or brined meat at home, I often find the combination of heavy smoke and sticky-sweet sauce unpalatable (for me).  Then, earlier this year, I was making shrubs (drinking vinegars).  As I struggle to ever throw anything out, and am always trying to repurpose, reuse, use up everything I have, I needed to do something with all the pickled cherries I had on hand.


Feeling creative one Sunday, I started concocting...and it was a hit.  I love it, my 2 and 4 year old love it, my parents love it, etc. etc. 

I used this on mesquite-smoked baby back ribs, but I think it would go great on any BBQ.

1 c. black cherries soaked in simple syrup or leftover from making a cherry shrub (guess which ...
one I used)
1 c. ketchup
1/2 c. cold brew coffee
1/3 c. unfiltered apple cider vinegar
3 T. Worcestershire sauce
2 T. sorghum molasses (I'm sure regular will do)
1 T. whole grain mustard
2 tsp. chipotle powder
2 tsp. kosher salt
2 tsp. cumin
1 tsp. freshly ground black pepper

Chop up the cherries and mix all ingredients together. Cook over medium heat, stirring well and often until a desired consistency. I like to stop the sauce when it's still a nice, red color, and then use it as a basting sauce over open flame. If you don't intend to cook it twice, so to speak, go ahead and reduce the sauce further, almost until it turns a browner red and has the consistency expected of barbeque sauce.